How To Make A Card with Share A Milkshake Stamp
Hiya, it’s Jay Soriano here, welcome to Mitosu Crafts UK. It’s the 1st Monday of the month which means it’s Stamp Review Crew blog hop time! The Design Team are sharing handmade card ideas with the Share A Milkshake stamp set. Be sure to check out all the inspirations from the crew.
Share A Milkshake Stamp Set
Sip on a super sweet treat with the Share a Milkshake stamp set! Nothing says “I Love You” like a tall glass of ice cream blended to perfection, whipped cream, sprinkles, and an iconic cherry on top. You’ll find it’s easy to layer and create unique frozen delights with Two-Step stamps that are made to be mixed and matched. Looking to learn a new technique? Use masking paper to line up, layer, and stamp with no mess and lots of dimension. Whether you’re celebrating your special sweetheart or just sharing the sweetness of life, you can only go right with this delectable stamp set!
My favourite milkshake is chocolate which inspired my card below.
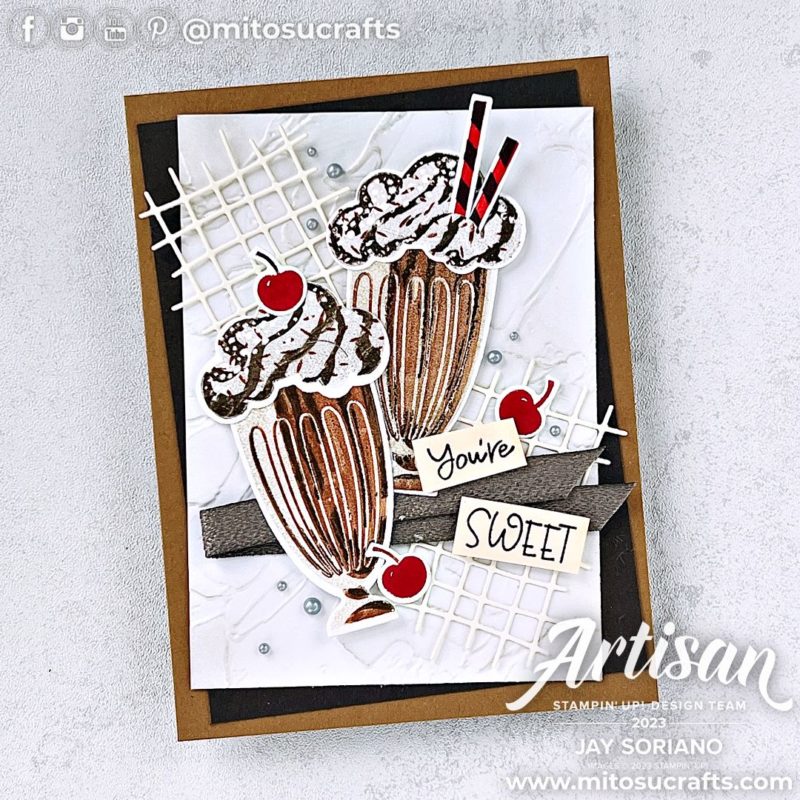
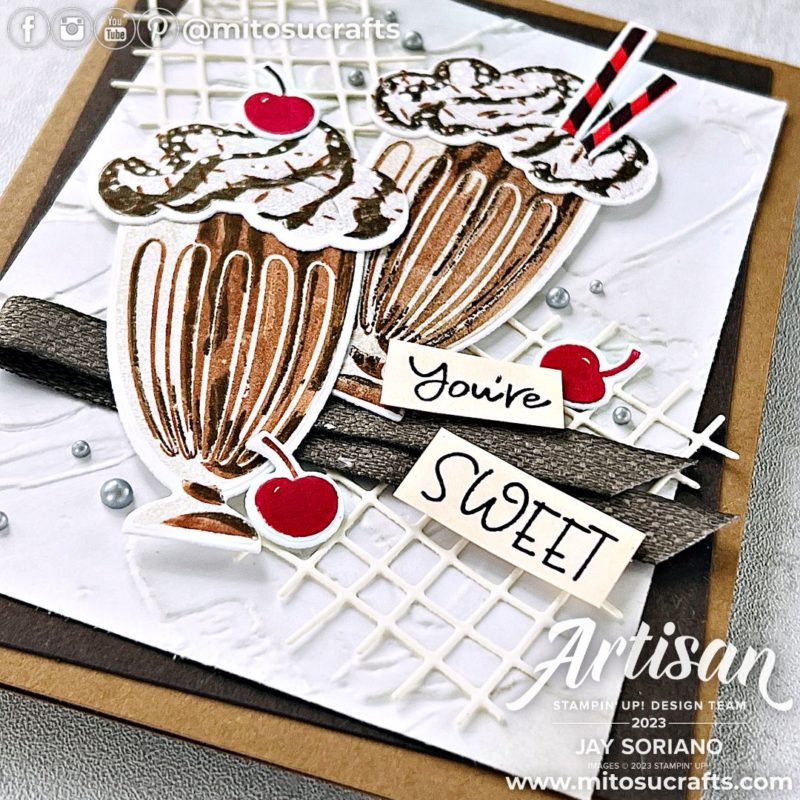
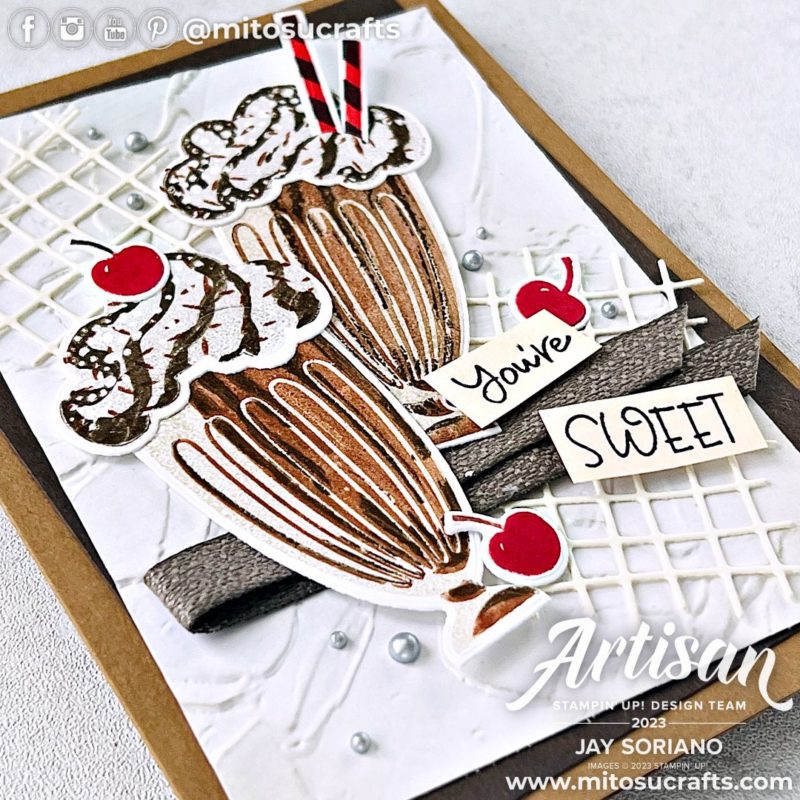
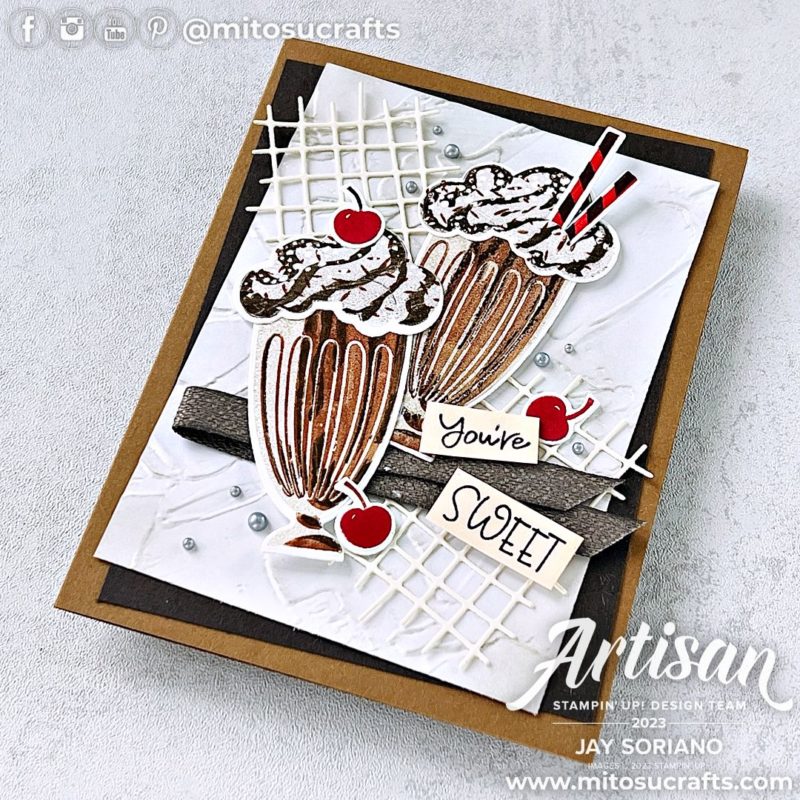
Share A Milkshake Stampin’ Up! Card Idea
For my card, I used different Stampin’ Write Marker Techniques for the cherries, chocolate syrup, chocolate shavings and the sentiment. The Marker To Stamp technique is when you use your Stampin’ Write Markers to add colour to your stamp. It allows for different colours to be added on your image and even better with Two Step Stamps as it gives extra details!
Imperial Measurements
- Pecan Pie cardbase: 8-1/4″ x 5-1/2″
- Early Espresso Layer 1: 3-3/4″ x 5-1/8″
- Basic White Layer 2: 3-1/2″ x 4-7/8″
- Basic White for stamping & die cuts
- Very Vanilla for die cuts
Metric Measurements
- Pecan Pie cardbase: 21cm x 14cm
- Early Espresso Layer 1: 9.5cm x 13cm
- Basic White Layer 2: 9cm x 12.5cm
- Basic White for stamping & die cuts
- Very Vanilla for die cuts
How To Make A Card With Chocolate Milkshake using Stampin’ Write Marker Techniques
- Emboss Layer 2 with Painted Texture 3D Embossing Folder then lightly ink blend Gray Granite ink around.
- Mat and layer on the card front at an angle with Early Espresso Layer 1.
- Stamp the filler glass with 2nd Generation Crumb Cake ink twice.
- Use Early Espresso Stampin’ Write Marker to ‘draw’ the dripping chocolate syrup on the detail glass stamp. Huff on the stamp before stamping. And repeat for the 2nd milkshake.
- Use Copper Clay Stampin’ Write Marker to add another colour layer with the detail glass stamp.
- Stamp the cream topping in 2nd Generation Gray Granite Ink twice.
- Repeat #4 for the chocolate drizzle on the cream topping.
- Tap the brush tip on its side of the Copper Clay Stampin’ Write Marker on the topping stamp to add chocolate shaving. Turn the block to easily change directions and length of each mark.
- Stamp the straw in Memento and Poppy Parade ink twice.
- Stamp the cherries 3 times in Real Red and use Early Espresso or Copper Clay Stampin’ Write Marker for the stalk.
- Use Basic Black Stampin’ Write Marker to ink up words in different sentiment stamps. Colour with Medium Light (800) Natural Tone Stampin’ Blends.
- Die cut all stamped elements as well as the grids on Very Vanilla card.
- Add the following elements on the card front:
- Grids – flat on the card front
- Pebbled Path Textured Ribbon – fold in half and use Stampin Seal+
- Milkshakes – use Stampin’ Dimensionals and 2 straws on one topping and a cherry on the other
- Sentiment – use Stampin’ Dimensionals
- Cherries – 1 flat next to the sentiment and 1 on dimensional next to the glass
- Finish by adding dots of Silver Metallic Enamel Effects Basics.
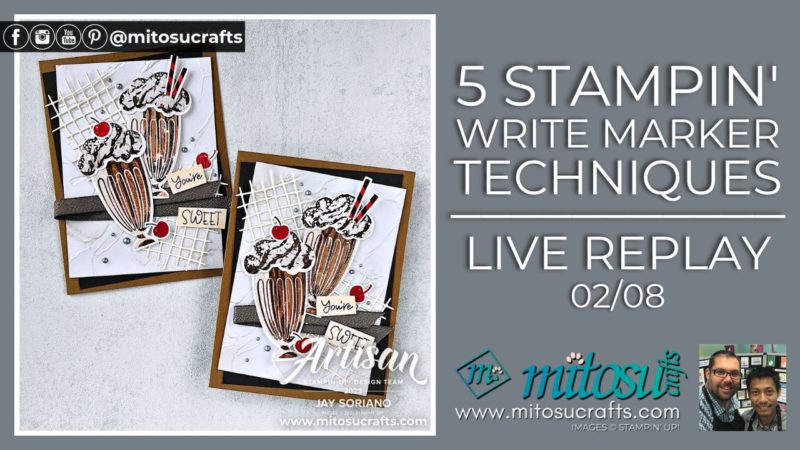
5 Stampin’ Write Marker Cardmaking Technique in 1 Card using Stampin’ Up! Craft Supplies Video Tutorial
Click the image below for the cardmaking video tutorial on our YouTube channel.
I hope you’re inspired with this project and try the Stampin’ Write Marker techniques in your next card project. Let me know you’re favourite milkshake in the comments 🙂
Thanks again for stopping by. Until next time, BYEEEEE!

Next Stamp Review Crew Blog
Click the ‘Next Blog’ button to be taken to Terri Tank’s blog for more creative paper craft inspirations with the Share A Milkshake stamp set. Don’t forget to come back and order any Stampin’ Up! products online from Mitosu Crafts or from your local Stamp Review Crew Design Team.
Share A Milkshake Stamp Review Crew Full Blog Hop List
Click HERE For More Inspirations From The Stamp Review Crew
Stampin’ Up! Craft Supplies
You can purchase any current Stampin Up card making and paper craft products from Mitosu Crafts. Available to residents of the UK, France, Germany, The Netherlands, Austria, Belgium & Ireland via our online shop by clicking the images below or contacting us direct either via email or phone.
Customer in the Netherlands can now shop with us easily by using Paypal.
Basic Craft Kit
Current Host Code
Grab your cardmaking & papercraft Stampin’ Up! supplies HERE to receive the Global Creative Project and Crafty Collaborations Tutorial Bundles as extra thank you gift from us when you place a £50 order or more
Order Stampin’ Up! Craft Supplies from Mitosu Crafts Online Shop HERE
If you are placing an order for £150 and above, do not use the host code so you can get the reward for yourself. Definitely, think about joining Stampin Up and our Mitosu Stampurrrs team beforehand though. More info can be found on the JOIN OUR TEAM page HERE
STAMPIN’ UP! ONLINE EXCLUSIVES

Add spark to your creativity and expand your craft collection with these on trend, Christmas in July Online Exclusives, you won’t find these products in any catalogue
Shop Stampin’ Up! Online Exclusives HERE
SHOP STAMPIN’ UP! CARDMAKING & PAPERCRAFT SUPPLIES
FREE Card Making PDF & Video Tutorial Bundles


Get more card making ideas and papercraft inspirations from the Global Creative Project (VIDEO & PDF) and Crafty Collaborations (PDF) Tutorial Bundles. Earn for FREE when you place a £50 order from our online shop using our current Stampin’ Reward Code (tutorial bundle will be emailed the following month you place a qualifying order). Or purchase previous theme tutorials HERE

Your Independent Stampin’ Up!® Demonstrators, Basingstoke
UK | France | Germany | Austria | Netherlands | Belgium | Ireland
Card Making Ideas and Paper Craft Creative Coaches
Card Classes | Video Tutorials | Online Shop
~Thank You~




3 Comments
Holly/Rubberredneck
This rocks Jay! I love how you used the markers sure looks like a tastey milkshake. Awesome card!
Stacey Marsh
What a super delicious looking card!
Heidi Baks
Such fun details to create a realistic chocolate shake!